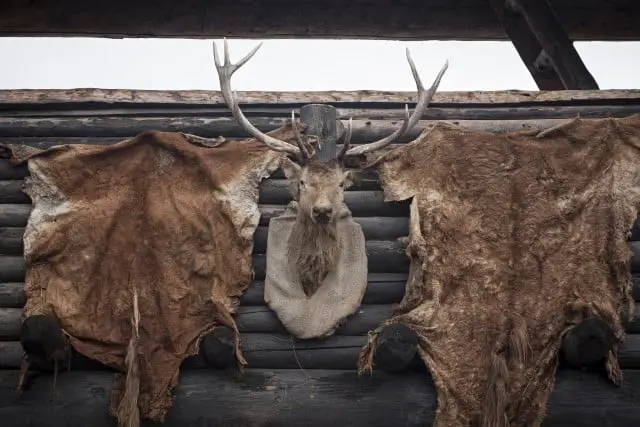
Hunting deer and other wild animals can provide a fair amount of materials and rewards, including deer hides. Whether you do it as part of a business or just as a hobby, learning how to tan a deer hide means you waste less of your trophy. And you get to enjoy the memory of your successful hunt for years to come. Keep reading to learn how to tan a deer hide.
There are two deer hide tanning methods we’ll discuss today:
- You can use an acid solution, or
- You can use the deer’s brain oils.
Both methods are very effective and require the same first few steps. The only difference is the materials you use to tan the hide.
The following article is a step-by-step guide on how to tan a deer hide using these two methods.
Gather The Necessary Materials
The first step to tanning a deer hide is to gather all of the necessary materials. The main materials you will need for either method include:
- Rubber gloves
- A large paintbrush
- Three pounds of salt
- Sandpaper
- A pressure washer
- Five gallon bucket
- Dish soap
- Safety goggles
- Sharp knife or a flesher
- The respective tanning formula (more details later in the article)
You can get most of these materials from your local grocery or hardware store. You can get started with prepping the hide for tanning once you have all the materials.
Remove all Flesh From The Hide
The first step for getting the hide ready for tanning is to remove all of the flesh, or “fleshing” the hide.
This step is a bit tedious, but it’s necessary to make the hide as thin as possible so that the tanning spreads evenly.

To start fleshing your deer hide, spread it out with the fleshy side up on a flat surface, such as a beam or stump.
Make sure it’s outside and on grass or a surface you can easily wash, since this step can get pretty messy.
Make sure the hide isn’t folded in any places and is completely flat before you start cutting.
Using your sharp knife or fleshing blade (long, thin knife with a slight curve), cut away as much excess meat and skin as possible. Mainly focus on the big chunks of meat and make the hide as flat as possible.
Once the majority of the meat and flesh is cut away, take the knife or flesher and consistently run it over small areas of the hide until each bit of meat is completely gone.
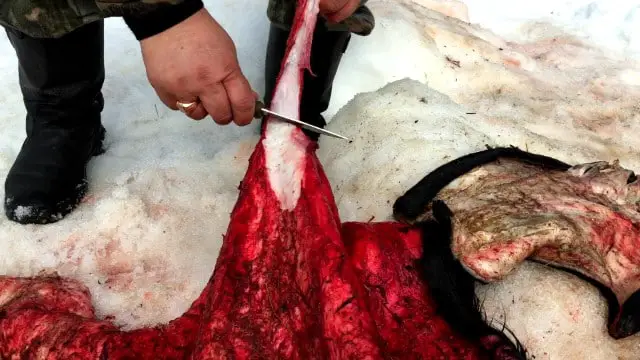
To finish off, use the power washer to wash away any stray pieces of flesh from the hide until it is completely white and smooth to the touch.
Pay special attention to the edges since pieces of flesh can easily get stuck on the edges.
Salt and Pickle the Hide
Next, you need to salt and pickle the deer hide. This is probably the easiest step in the process since the most difficult part is just waiting.
To start, lay the hide flat and pour the three pounds of salt (any brand will do) over it, making sure it’s completely covered. Bring the two flesh sides together, keeping the salt in, and roll the hide up tightly.
Place the hide carefully into the five gallon bucket and leave the hide to pickle for 24 hours. Once a day has passed, take the hide outside and shake all of the old salt off.
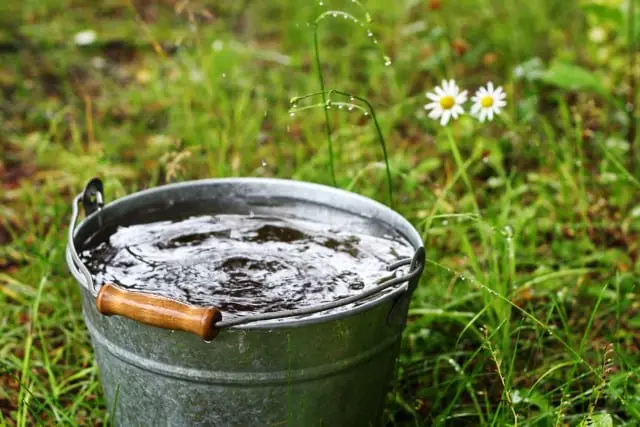
Leave it to pickle for another 24 hours and then place it in a salt bath. Using your five gallon bucket, fill it with enough clean water to immerse the hide completely.
Pour another half a tablespoon of salt per gallon of water, and pour in another gallon or so of very hot water to dissolve the salt. Mix the water until the salt is completely dissolved and wait for the water to cool.
Cover the hide in the solution and leave it for six to eight hours. You can leave it overnight, but don’t leave it for too long, or the hairs will start falling off the hide.
Once the hide has been pickled, wash the hide with dish soap and more clean water, double checking to see if any remaining bits of flesh are still on it.
If so, remove them with your knife or fleshing blade. The hide will start to smell if you leave any flesh on.
Make sure all of the soap is washed off and hang the hide to dry for a day or two. Once it’s dry but still somewhat damp and pliable, you can start the process of actually tanning it.
Tan The Hide: 2 Different Methods
As we mentioned earlier, there are two main methods you can use to tan a deer hide: tanning with an acid solution or tanning with the deer’s brain oils.
One method isn’t better than the other. They just yield different results, and one method requires a few more steps.
While using brain oils to tan deer hides is considered the more natural tanning method, it’s much harder to do. You need the actual brain of the deer to do it, and this method requires many more steps.
That’s why we recommend making and using an acid tanning solution instead of attempting to use brain oils if you’re a beginner.
You can make an acid tanning solution with ingredients you can find in a local grocery store or hunting supply store.
Whichever method you use, you’ve got to follow the steps correctly to get the best results.
Tanning With an Acid Solution
If you decide to tan with an acid solution, you must first gather all of the ingredients needed. The ingredients needed for an acid tanning solution include:
- 1 box of baking soda
- 2 gallons of water
- 1 and a ½ gallons of bran flake water
- 8 cups of salt
- 1 and a ¼ cup of formic acid
- 2 large trash cans or buckets
- Neatsfoot oil
- A large stick (yes really)
Here are the steps to follow once you have all of the ingredients together. Put on a long and sturdy pair of rubber gloves to protect your skin.
1. Start Mixing the Ingredients
Once you have all of the ingredients, start mixing them together. Put the salt into the trash can or bucket and add the two gallons of boiling water and the bran flake water.
Use the large stick to stir the mixture together thoroughly, making sure the salt has dissolved completely. Add the formic acid and stir it some more, until all of the ingredients are mixed together.
2. Put the Hide in the Mixture
Once the mixture is completed, use the large stick to add the deer hide to the bucket or trash can.
Gently push it down with the stick to make sure it’s fully immersed in the mixture. Let it set for 40 minutes and remove it with the stick to dry and drain.
If you remove it with your hands, make sure you wear thick rubber gloves when doing so. The acidic solution could cause you to get burned if it touches your bare skin.
3. Neutralize the Solution with Baking Soda
Next, you have to neutralize the acid solution with baking soda. Mix in an ounce of baking soda per gallon of water, place the hide in the neutralized solution, and stir it consistently for 20 minutes.
4. Remove the Hide and use Neatsfoot Oil
Afterwards, remove the hide from the solution and let it drain.
While the hide is still wet, grab a thick towel or rag and rub neatsfoot oil over the entire surface. Neatsfoot oil is made from the feet and shin bones of cattle, and it will soften and condition the hide.
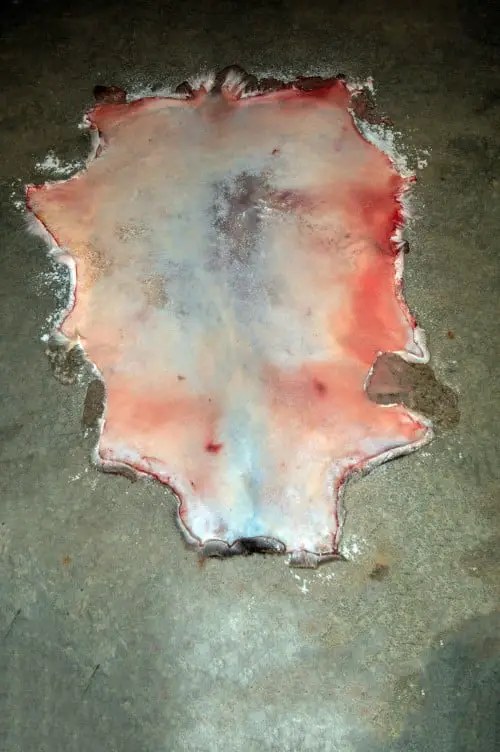
5. Stretch Out the Hide to Dry
The last step is to immediately stretch out the hide while it’s still pliable. Hang the hide out in the sun to dry, either on a hide dryer or a stretcher.
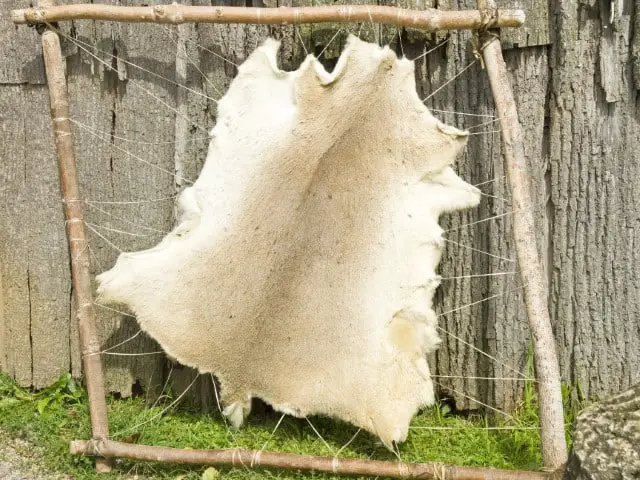
If you don’t have either of those, you can use tacks and a hammer to stretch the hide between two trees or posts. After leaving it for a few days, it should feel completely dry and flexible.
Once the hide is dry, take it down and run a wire brush over it to give it a suede like look, and you’re done!
Tanning With The Deer’s Brain Oils
Want to try tanning a hide with deer’s brain oils? The first step is to make sure you keep the brain of the deer you got the hide from.
Obviously, you can’t just head down to the local grocery store and find a deer brain! So remember to keep the one from your deer.
The brain must be fresh. If it’s decomposing, the oils will add a repulsive smell to the hide.
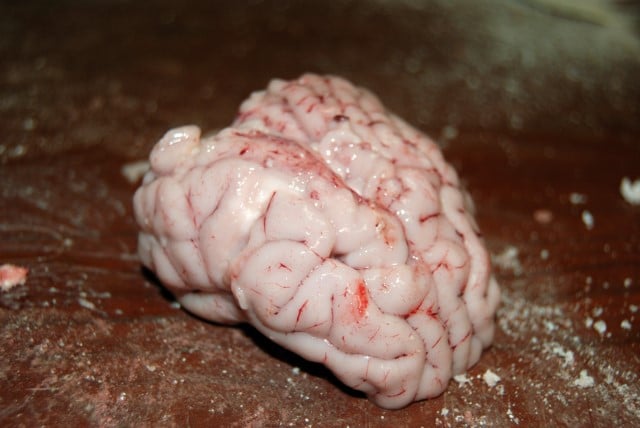
Once you have the deer brain, place it in a saucepan along with a cup of water, and put it on the stove. Cook the brain down on low heat until it fully turns into a liquid. This should look similar to soup.
If you need to, you can blend the mixture up until it doesn’t have any lumps and is completely smooth.
Next, start tanning the hide with the brain mixture. Wash the hide with the pressure washer one more time to make sure you’ve completely removed all leftover bits of flesh and/or hair.
It will also make the hide more pliable. Just make sure to use some towels to squeeze out any excess water.
Put on some long and thick rubber gloves before you begin.
Put on some long and thick rubber gloves. Carefully pour the brain mixture directly onto the hide and rub it around the hide and into the skin by hand.
Make sure you rub the mixture along the hide evenly, so that the entire hide is a consistent color.
Once you’ve evenly applied the solution, roll the hide up and put it in a food storage or freezer bag that’s big enough to hold it.
Refrigerate the Hide
Keep the hide in your refrigerator for 24 hours to give the tanning solution time to fully seep into the skin.
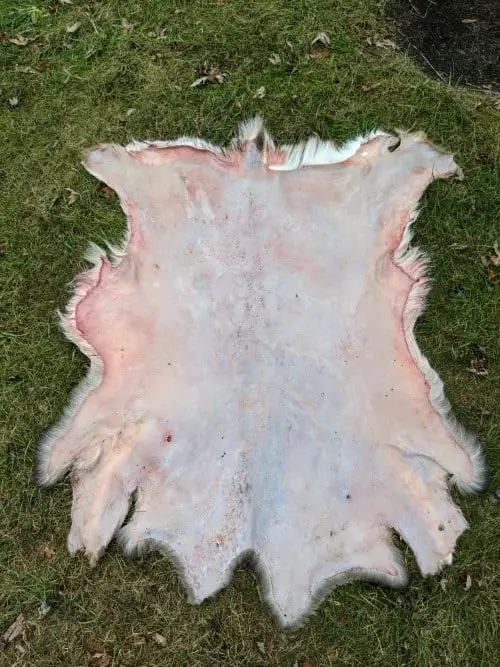
Once the 24 hours is up, take the hide outside and stretch it out in the sun. You can use the stretching methods that we talked about earlier, whichever one works best for you.
As it’s stretching, use a thick towel or cloth to wipe off any excess brain mixture. You can also use a large stick to soften the hide by running it along the skin as it’s drying.
The last step is to smoke the hide. Sew the hide up with thread or rope until it looks like a tent or bag, closing one end tight enough to keep smoke inside.
Make a stand with large sticks so the hide stands upright from the closed end. It should resemble a traditional teepee.
Make a small fire and place the standing hide on top of the fire, so the smoke will rise and coat the interior of the hide.
After a half hour, turn the hide inside out and repeat the process for another half hour. Once it’s done, the hide is fully tanned and ready to be used.
Now You Know How to Tan a Deer Hide
Tanning a deer hide is certainly a challenge, but if you’re a deer hunter, it’s definitely not something you can’t handle after field dressing your deer.
It’s a great way to get as much use out of a deer hunt as possible, saving and utilizing every part of the deer.
If hunt regularly, knowing how to tan a deer hide is a valuable skill. Use the tips we’ve shared here to guide you as you give it a try.