
Hoping to start out as a deer hunter? While tracking deer can be thrilling, for many the work that comes after the hunt is a bit less enjoyable. But learning how to field dress a deer quickly and effectively is necessary. Failing to properly field dress a deer means you risk ruining the meat, making it dangerous to consume.
In this article, we will discuss how to correctly field dress a deer, step-by-step.
We will cover the following topics:
- What is field dressing?
- Why is field dressing important?
- What tools do you need for field dressing?
- The steps of field dressing a deer
- How long should field dressing take?
- What is skinning, and how do you do it?
- How to transport your deer
Let’s start with the basics.
What is Field Dressing?
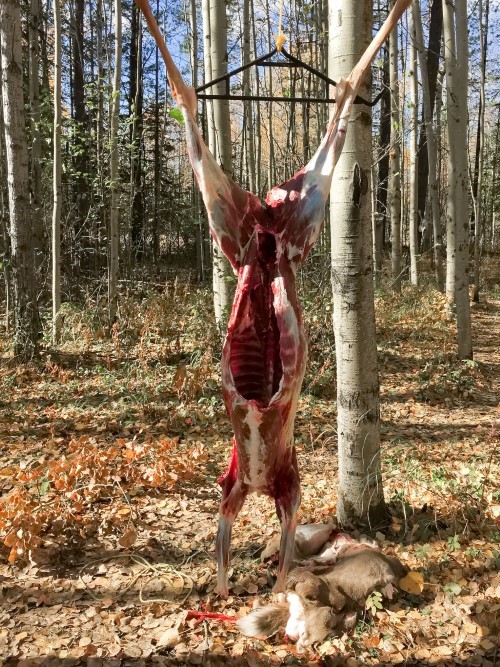
Field dressing is the process of removing all the internal organs and entrails from the deer’s body after you’ve killed it.
Why Is Field Dressing Important?
Field dressing is important because it cools down the venison. This is crucial.
Remember, bacteria proliferate at high temperatures. That’s why meat allowed to stay warm may end up infected with potentially dangerous bacteria.
You must do field dressing to prevent bacteria from growing to the point where the meat will be unsafe to eat. Correct field dressing also makes your venison taste better and stay fresh longer.
You must start the field dressing process immediately after the animal is killed. Once the field dressing is done, you must get the harvested meat refrigerated and processed.
What Tools Do You Need for Field Dressing?
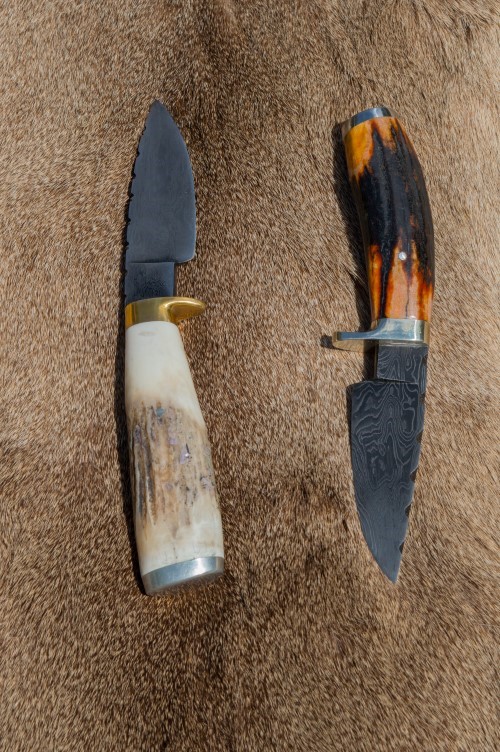
An appropriate knife is the most important tool for field dressing. It should be sharp and durable, with a minimum four-inch blade.
Our Favorite Field Dressing Knife Set
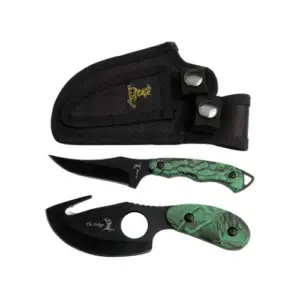
We like fixed-blade hunting knives for field dressing and skinning deer (it’s a safety thing).
This 2-piece knife set is razor sharp, comfortable in the hand, and includes an effective gut hook. It’s a budget-friendly option that will be perfect for most hunters.
WorldDeer.org is reader supported. If you make a purchase after clicking a link, we may earn a commission at no additional cost to you.
The handle should be generous. The best kind of knife to use for field dressing is the skinning knife that butchers use.
Let’s take a look at the tools you need for field dressing.
- Knife, preferably a skinning knife or similar
- Clean water (clean enough for drinking)
- Plastic gloves (disposable)
- Cheesecloth
- Ground pepper
- Gut hook
- Ice or snow (stored in a large-sized cooler)
- Plastic storage bags (resealable)
- Paper towels or cloths (make sure they’re clean)
- Rubber elastics (rubber bands)
- Nylon cord or rope (several feet)
- Steel or whetstone (to sharpen knife)
- Hatchet (small)
How to Field Dress a Deer: Step-by-Step
Different experienced hunters may have slightly different approaches to field dressing a deer. In other words, there isn’t just one viable way.
However, the steps we’ve provided below are the most essential steps that you need to know.
1. Get Ready
One of the biggest challenges of field-dressing deer for the first time is how stomach-churning it can be for the un-initiated. Once you get used to hunting and field dressing, however, you should get desensitized to it.
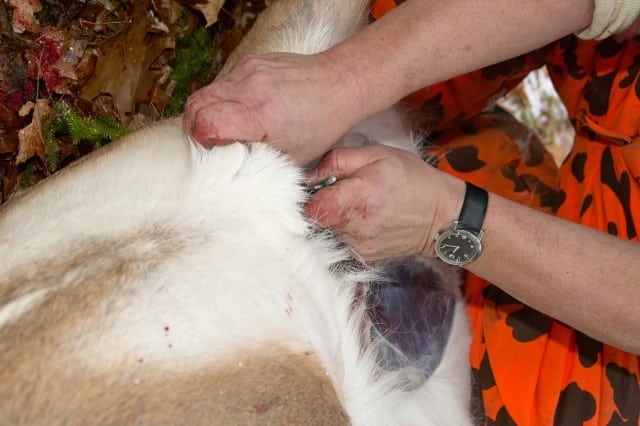
Always make sure you wear latex gloves. Ensure all your tools (see the list we provided earlier) are at hand. If you’re wearing any kind of jewelry or a watch, take them off before you start field dressing.
2. Take Out the Broadhead and Arrow (for Bow-Hunters)
If you’re a bowhunter, you will have to remove the broadhead and arrow from the deer’s carcass. The broadhead may have already exited the animal, but you must be sure that has happened.
3. Create a Coring Ring
To do this, you will have to find the anus. Start by positioning the deer either on its back or side.
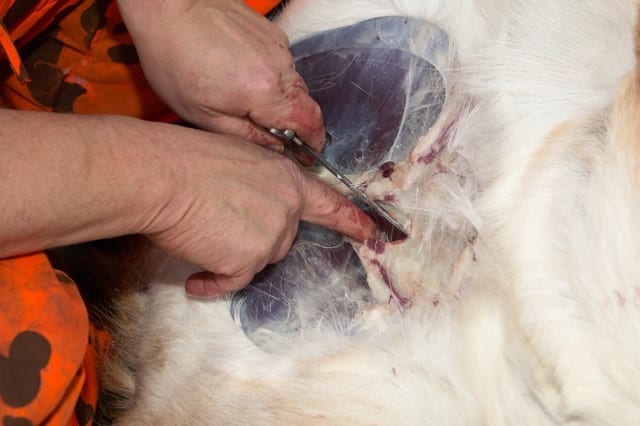
Kneel down so you have easy access to the deer’s anus area, and then use your knife to cut out a ring. This is called a coring ring.
It should have a depth of about two inches. Once you’ve accomplished this, use the knife to go further into the carcass’s pelvic canal.
At that point, you should use the same cut you did with the initial coring, using the same movements. This is done to detach membranes and get rid of the colon.
Be extremely cautious and ensure you don’t accidentally create a hole in the colon. If you do, the entire carcass and its meat may become tainted with bacteria and dangerous to eat.
4. Turn the Deer Belly Up
Position the deer on its back, so the belly is facing upwards. Your job will be much easier if you find a sloping area that will help you keep the deer’s head above the body.
You will probably need someone else with you to do the next step, as you need another person to hold the deer’s back legs apart.
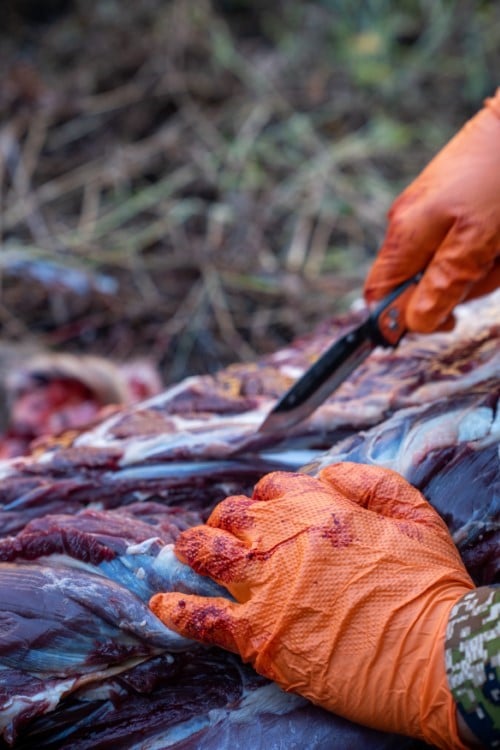
5. Start More Cutting
Find the area between the deer’s back legs, where it has a V-shape. Get hold of that skin and use the knife to cut to about one-inch deep.
If you have a buck, this area will be immediately above its testicle area.
If you have a doe, it will be immediately beneath its milk sac. Knowing this difference is important in knowing how to field dress a deer.
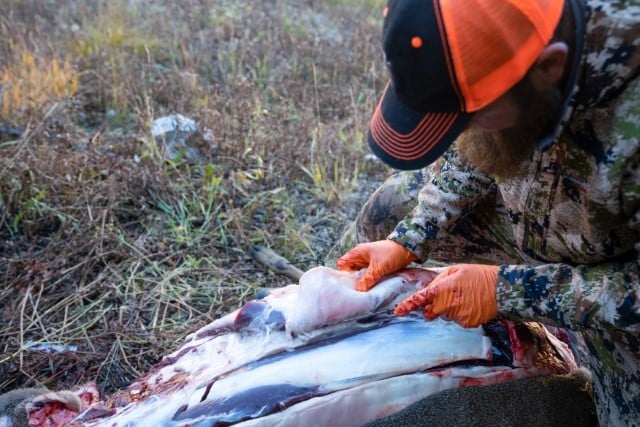
6. Cut Upwards Through the Middle of the Body
The cut you made in the previous step is where you start this one. Get your gut hook and use it to cut the deer’s belly open, beginning at its pelvic bone.
Continue cutting until you reach the breastbone. You need to know what your plans are in terms of taxidermy to know what to do next.

If you’re planning to use a taxidermist, don’t go any further than the breastbone. If you aren’t planning to do taxidermy, though, you will need to go further.
Position yourself so that you are directly on top of the deer’s chest area, so you can easily access the cavity. To do this, you will have to straddle the carcass.
Make sure the blade of your knife is directed towards the deer’s head.
Once you have the correct position, continue the cut, going through the ribcage and sternum and getting to the neck. Stop at this point and don’t cut the deer’s neck.
7. Deal With the Diaphragm
You will have to identify the diaphragm, which is a thin membrane. It is situated between the abdomen and chest.
Find your deer’s diaphragm and use your knife to detach it from the organs of the chest cavity. Continue cutting, also detaching it from the walls of the cavity. Keep going, separating it to the deer’s spine.
8. Find the Windpipe
Next, find and sever the windpipe. Use your hand to get hold of it and your knife to cut it. During this step, go ahead and take out the liver and the heart if you’re planning to keep these organs.
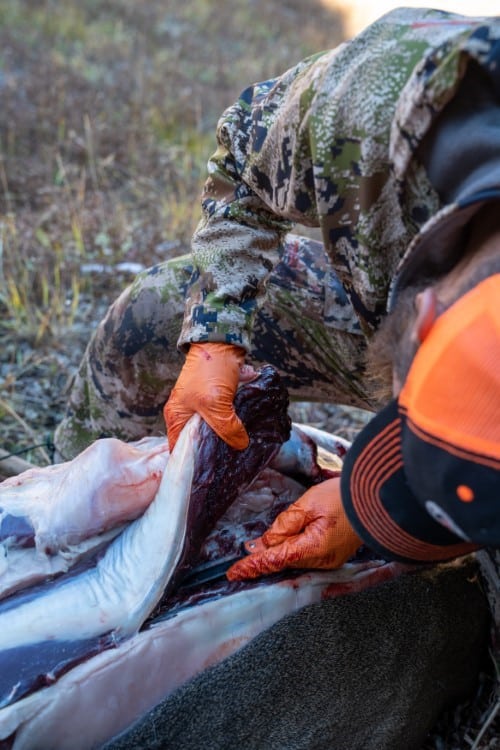
9. Take Out All Entrails
You can do this just by pulling on the deer’s windpipe. This should facilitate taking out all the entrails, including the stomachs, intestines, lungs, heart, bladder, and liver.
You can use your knife to detach any connective tissues. Be careful when taking out the colon, taking care not to cut it.
10. Facilitate Blood Draining
Facilitate blood draining from the carcass by positioning the body so it’s on its stomach and spreading out the deer’s legs.
They should be straight out on the ground. You should notice the blood draining more efficiently.
How Long Should Field Dressing Take?
Ensure you’re fully prepared to start field dressing the minute you shoot the deer. You should strive to finish the field dressing within 15 minutes.
This is important because you want to get the deer to the processing facility as quickly as you can.
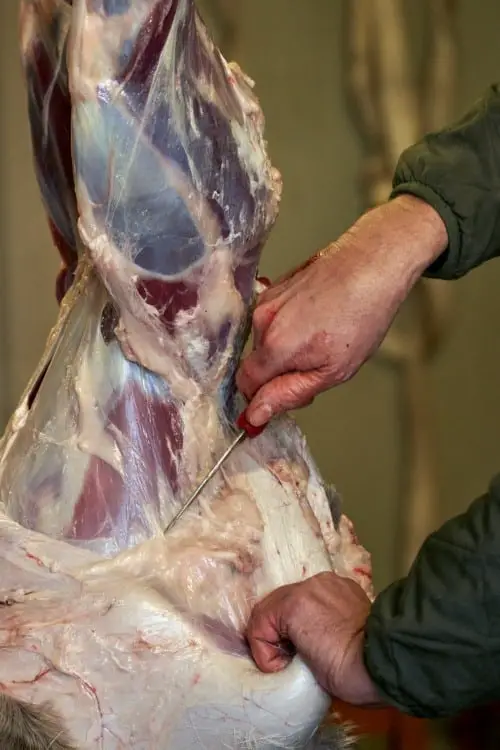
What is Skinning?
After field dressing, you will need to skin the deer if you want to take off the hide. You will have to decide whether you want to remove the deer’s hide, and you should make this decision before you go hunting.
After all, you don’t want there to be a delay when you’re doing what needs to be done before refrigerating and properly storing your venison.
Do you want to add skinning to your field dressing procedure? If so, make sure you understand that process as well as the fundamentals of how to field dress a deer before you go hunting.
What are the Advantages of Skinning?
Let’s explore the reasons you might want to consider skinning. If you intend to do taxidermy, you should definitely skin the deer.
That is because once you have skinned the deer, you can keep the hide safe and avoid it getting damaged.
You also may plan to tan a deer hide for display or for use in your home.
Should You Skip Skinning?
Skinning has disadvantages if you want the benefits of leaving the skin on. One of these is the fact that skin can help keep contaminants (such as insects, dust, and bacteria) from getting into your venison.
Leaving the skin on can also help prevent the venison from drying out.
How to Transport Your Deer?
One of the most important parts of successful deer hunting is planning in advance. One element of this is knowing how and where you will transport your deer after field-dressing.
You should have decided all these things before embarking on the hunt.

You should review the route to the processing facility, so there are no delays. Remember, you must bring the deer to a processing facility as quickly as possible.
What Vehicle Should You Use?
Many hunters use the bed of a pickup truck for transporting their deer. If this is your plan, thoroughly clean the bed before you start the hunt.
This is especially crucial if you’re going to skin the deer. After all, the meat is more prone to contamination. Having a clean tarp with you can be a good idea.
Maintain the Right Temperature
Find a way of monitoring the temperature when transporting your deer. Venison must always be kept cooler than 40 degrees Fahrenheit.
When it’s warmer than 40 degrees Fahrenheit, you will need plastic bags and ice to keep the carcass cool.
Put the ice (or snow, if you can find it) in the plastic bags, and put them inside the cavity of the carcass. Use some string to close the cavity and keep the plastic bags inside.
If the temperature is cooler than 40 degrees Fahrenheit, you will have to make arrangements for better air circulation in the cavity. Use some sticks (make sure they’re clean) to open the cavity (and keep it open).
Final Thoughts On How to Field Dress a Deer
Proper field dressing is essential if you want to hunt deer and enjoy the venison you harvest. Without field dressing, the meat will get contaminated.
Once you’ve field dressed and transported your deer to a processor, you’ll have an ample store of fresh venison.
Like any other meat, you must keep your venison refrigerated. If you want to store it for the longer term, it must go in the freezer.
We are a participant in the Amazon Services LLC Associates Program, an affiliate advertising program designed to provide a means for us to earn fees by linking to Amazon.com and affiliated sites.


