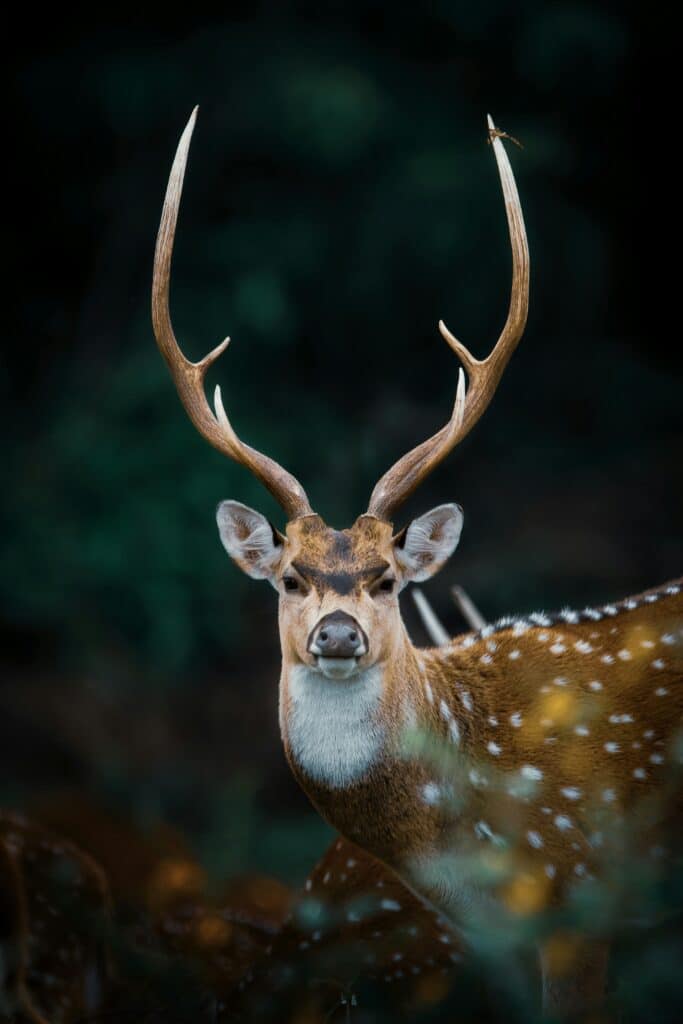
Understanding the Basics of Cape Preparation
Preparing a buck for a shoulder mount starts with a careful and precise caping process.
This involves removing the skin around the deer’s shoulders, neck, and head with great attention to not damaging the hide.
Proper caping ensures that your trophy will look its best when mounted by a professional taxidermist.
Gathering the Right Tools for Caping
Choosing the right tools is pivotal for an effective and efficient caping job.
A sharp caping knife, such as the Havalon Piranta, is widely praised for its replaceable blades and ergonomic handle.
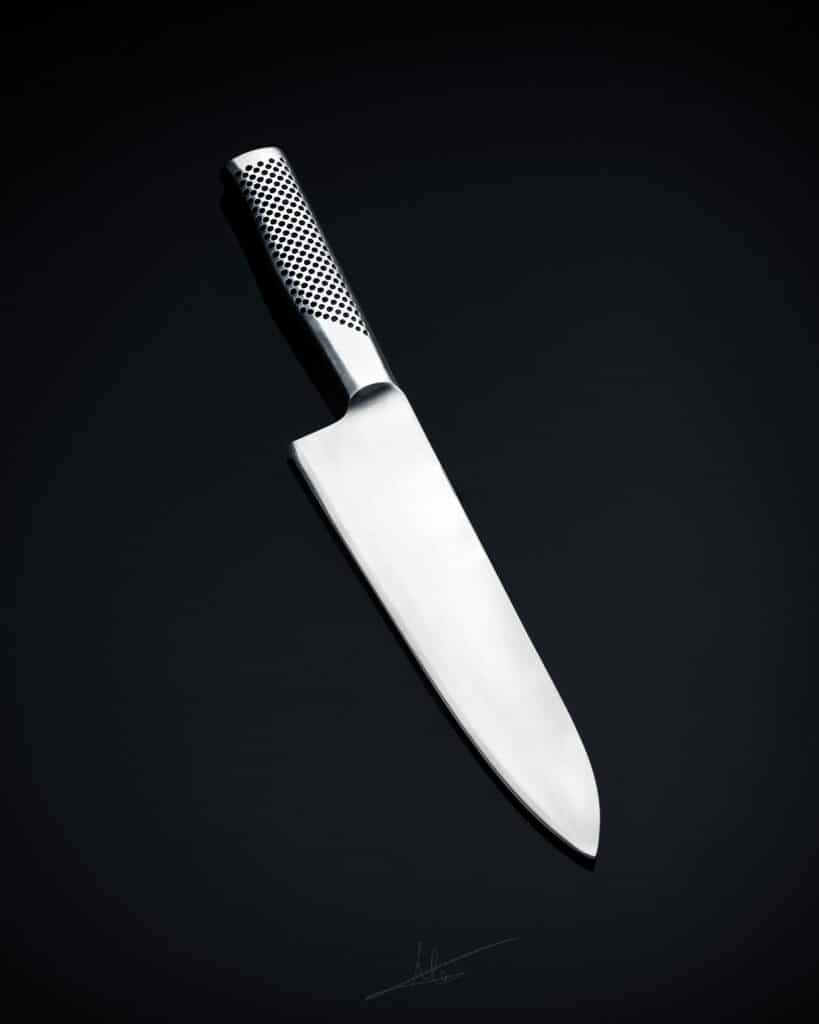
The lightweight and precise cut it offers makes it a top choice among hunters and taxidermists alike.
Find This and More on Amazon
Furthermore, a skinning gambrel, such as the one from Hunters Specialties, is said to significantly ease the suspension of the buck while skinning.
Reviewers highlight its durability and the convenience it offers for solo hunters.
Step by Step: Caping a Buck for Shoulder Mount
Step one begins with hanging the buck by its hind legs using a gambrel.
Position it at a height that allows comfortable access to the entire neck and head area.
The next step involves making incisions.
You’ll start from the back of the head, along the neck, down to the body where the shoulder mount will end.
Remain mindful of the depth of your cuts to preserve hide integrity.
As you proceed, the skin should be carefully pulled away from the meat.
Gentle, even pressure ensures minimal damage to the hide.
The intricate area around the antlers requires particular care.
It’s advisable to have a partner or watch a comprehensive guide to navigating this delicate task.
After fully detaching the cape, keep it cool and free from debris.
Until it can be taken to a taxidermist, storing in a cool, dry place prevents deterioration.
Preserving the Cape Before Visiting the Taxidermist
Preservation is key in maintaining the cape’s quality until it reaches a professional’s hands.
Salt the flesh side thoroughly and roll the cape skin inward for transportation.
It’s important to inform your taxidermist of your plans soon after the hunt.
Delays could compromise the quality of the mounting.
Products like Taxidermy Salt from Morton have been noted for their affordability and effectiveness in the preservation process.
Adherents advocate for its grain size and purity, making it a suitable choice for hobbyists and professionals.
Considerations When Choosing a Taxidermist
Selecting a skilled taxidermist can ensure your shoulder mount lives up to your expectations.
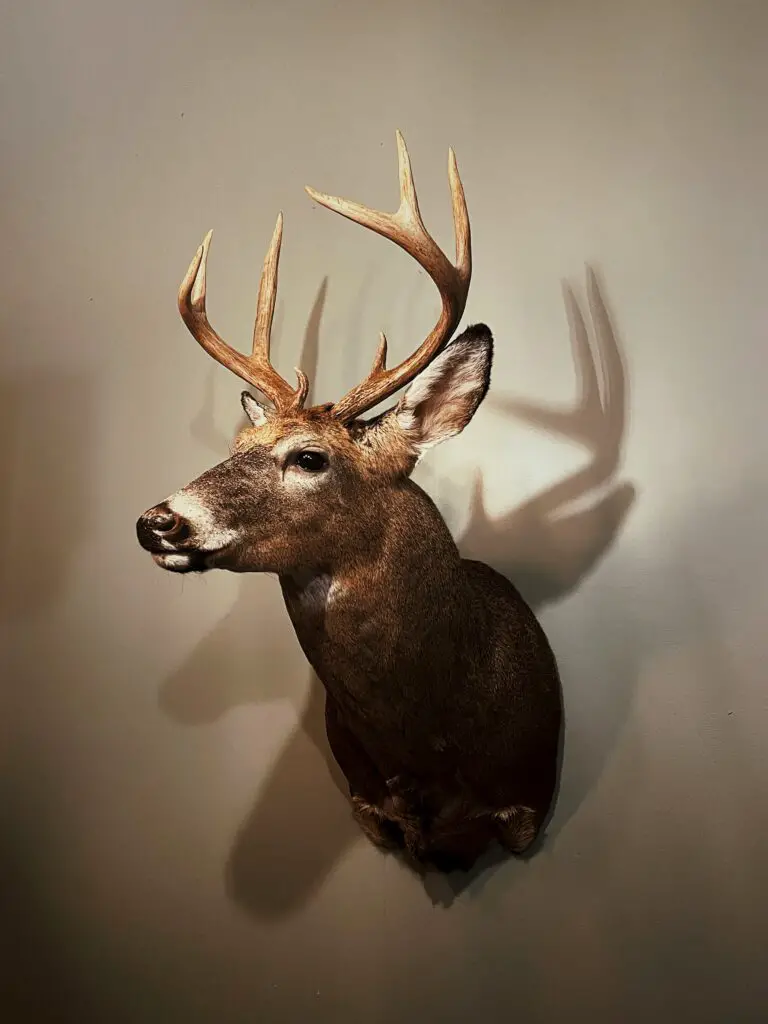
While you might be enticed by lower prices, remember that quality craftsmanship is often reflected in the cost.
Research previous works and ask for references.
Understanding what goes into the cost of processing a deer can help you weigh the options effectively.
Conveying your vision and discussing mounting options with your taxidermist ensures your end result is as envisioned.
They should be willing to personalize the mount to reflect the unique features of your buck.
Cape Maintenance After Mounting
Once your buck is mounted, maintaining its appearance will protect your investment.
Regular dusting and avoidance of direct sunlight can prevent fading and degradation.
Specialized cleaning products, like Mount Medix Mount Cleaner, receive high marks for their effectiveness in preserving mounts.
Users note its ability to clean without damaging fur or altering natural colors.
Caping a Buck: FAQs
Can I cape a buck myself if I’ve never done it before?
Yes, but it’s wise to practice or seek guidance through resources like videos or a mentor.
What’s the most important factor in caping a buck?
Using the right tools and precise technique to avoid damaging the hide.
How soon after the hunt should I get the cape to a taxidermist?
As soon as possible, ideally within a few days while keeping the cape cool and salted.
Can a taxidermist fix a cape if I make a mistake?
Minor errors can often be corrected, but serious mistakes could require additional costly work or even ruin the cape.
Is it necessary to cape the buck in the field, or can it wait until I get home?
While it’s possible to wait, caping in the field ensures the best chance of preserving hide quality, especially in warmer climates.
Are there legal guidelines for caping and taxidermy I should be aware of?
Yes, there are regulations in most regions regarding the handling of animal remains, so be sure to research local laws.
Can I learn taxidermy myself to mount my own capes?
Absolutely, there are many resources available for learning taxidermy, but practice and patience are crucial.
Advanced Techniques in Caping
Delving deeper into caping techniques can significantly improve the results.
Learning more intricate cuts, especially around the facial features, ensures a lifelike mount.
Understanding musculature and bone structure can also guide you in achieving a more detailed cape without unnecessary incisions.
There are reference books and online courses that can offer hunters detailed caping know-how.

Taking advantage of these resources could refine your skills for that perfect shoulder mount.
Handling the Head and Antlers
Caping around the head and antlers can be the most daunting part of the process.
Special care is needed to navigate these areas without slips that could damage the hide or fur.
Consider investing in an antler mount kit to ensure a safe and secure display of your trophy.
One highly-recommended product is the Walnut Hollow Country Antler Mount & Display Kit, noted for its ease of use and aesthetic appeal.
Find This and More on Amazon
For caping around a buck’s facial area, you’ll need to make careful incisions around the eyes, lips, and nose.
Ensuring these cuts are precise is crucial, as they’re prominent features in a shoulder mount.
Avoiding Common Caping Mistakes
Even skilled hunters can make mistakes, but knowing what to watch out for can minimize them.
A common error is cutting too short around the brisket, which leads to an insufficient hide for the mount.
Over-salting the hide or leaving the cape in the freezer too long before taxidermy can also compromise the quality.
Becoming familiar with these pitfalls can safeguard your caping success.
If you’re unsure about the freezing process, this detailed guide on deer processing offers valuable insights.
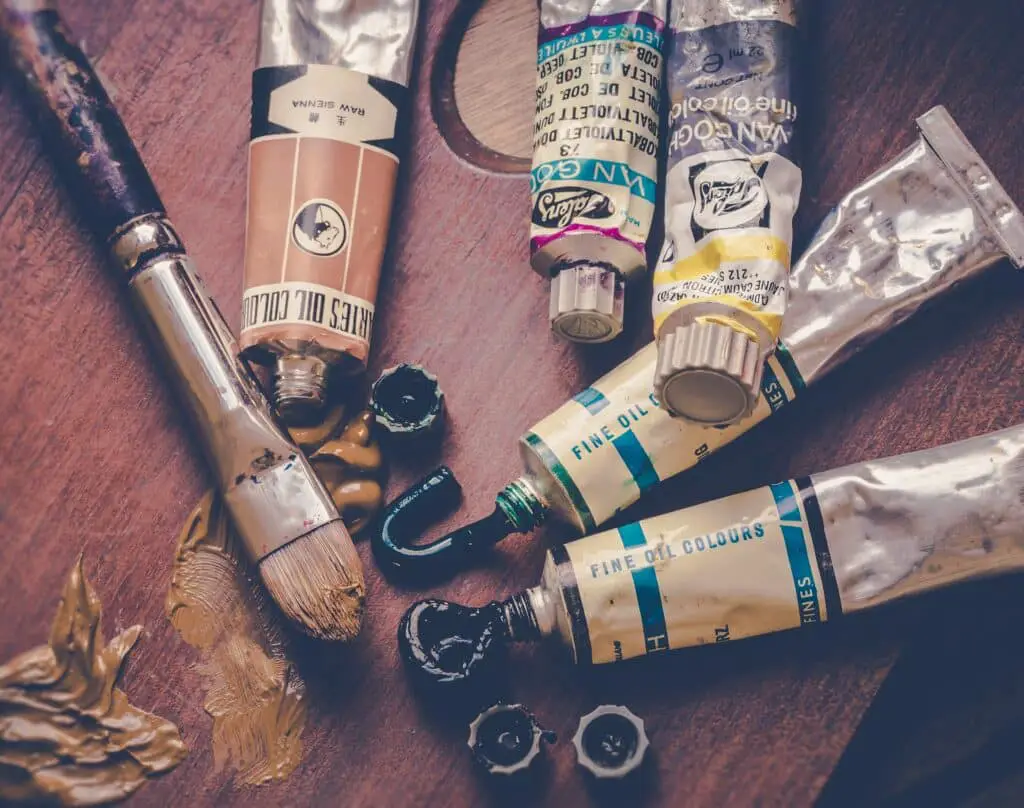
Choosing the Right Taxidermy Supplies
Access to quality taxidermy supplies is essential for both amateur and professional taxidermists.
Products from companies like Van Dyke’s Taxidermy have earned a solid reputation for delivering reliable results.
From epoxies and form liners to adhesives and finishing sprays, the attention to detail in selecting taxidermy supplies can enhance the final product.
Taxidermy enthusiasts often share reviews about these products, emphasizing their effectiveness in creating durable and engaging mounts.
Understanding the Caping-to-Mount Timeline
Understanding the timeframe from caping to mounting is vital for schedule planning.
Immediately after caping, the hide should be cooled and prepped for transport or freezing if necessary.
A reputable taxidermist will give a clear estimate of the time required to complete your mount.
This period usually ranges from several months to over a year, depending on their backlog and the complexity of the work.
Caping a Buck: An Artful Tradition
For many, caping a buck goes beyond mere preparation for taxidermy—it’s an art form and a tradition.

It’s important to respect the process and understand its role in the larger hunting culture.
Passing on caping skills to new hunters fosters a sense of continuity and respect for the animals and the sport.
And as you excel in this craft, there’s a profound satisfaction in knowing you’ve honored your trophy with skill and care.
Preserving Nature’s Beauty Through Ethical Hunting
Successful and ethical hunting involves more than the harvest—it’s the reverent handling of the animal after the hunt.
Caping done well ensures that the beauty of the animal is preserved and celebrated in a respectful manner.
Educating yourself on deer behavior and habitat also contributes to ethical hunting practices.
Knowing the animal deepens appreciation and leads to responsible actions from the moment of pursuit to the final display.